Talk to us,Get a Solution in 20 minutes
Please let us know any requirements and specific demands,then we work out the solution soonest and send back it for free.
Please let us know any requirements and specific demands,then we work out the solution soonest and send back it for free.

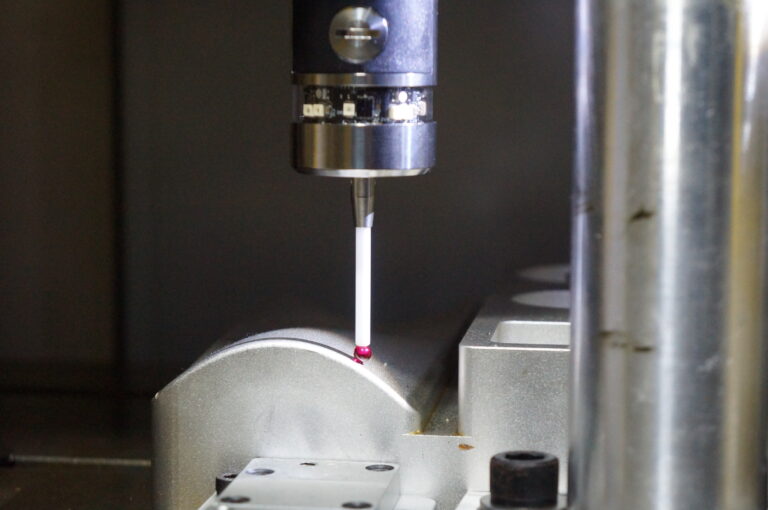
Touch probes can ensure accurate measurements, safe setups, and consistent quality. But when a touch probe stops short of the intended contact point, or triggers prematurely, it will makes us feel confuse: the machine thinks something happened…but we can’t see it. So Understand whether the root cause is electrical or mechanical is important—not just to fix the issue, but to prevent it from reoccurring. Here’s an expert breakdown that connects human intuition with machine behavior.

Touch probes are honest sensors living in a dishonest environment.
They’re trying to tell your control one simple truth—“I touched something”—while spindle drives, VFDs, servos, coolant pumps, and cable trays are doing their best impression of an RF transmitter.
So when probing gets flaky, people argue about the probe first. But in a lot of shops, the probe is fine—the signal conditioning isn’t.
This blog is a practical, shop-smart guide to three things that decide whether your probe input is rock solid or haunted:
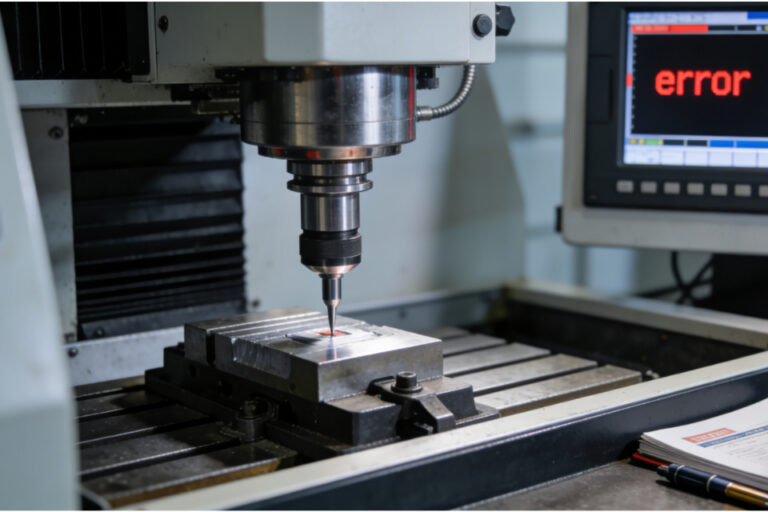
There’s nothing more frustrating than starting a probing cycle and boom — right away you get “Probe already triggered,” “always triggered,” or the machine behaves like the probe is already touching something when nothing is there.
This symptom can come from all kinds of root causes: electrical noise, wiring, logic state confusion, controller timing, and even how the controller interprets the probe state once it resets. But before we chase ghosts, the key is to understand what “always triggered” actually means and then zero in the true cause with a systematic troubleshooting mindset.
If you’ve ever measured a bore, a sphere, or a nice smooth radius and thought:
“Why does this ‘perfect’ curve look slightly… three-lobed?”
You’re not imagining things. That pattern often comes from lobing error—a direction-dependent trigger behavior common in kinematic (mechanical-switch) touch-trigger probes. In plain terms: the probe doesn’t trigger at the exact same deflection in every direction, so the measured surface can come out with a subtle “triangular / three-lobe” signature.
If you’re using a touch-trigger probe (on a CMM, shop-floor CMM, or probing on a CNC), “repeatability” is the canary in the coal mine. When repeatability drifts, your results can still look believable—until a critical tolerance goes sideways and nobody can explain why.
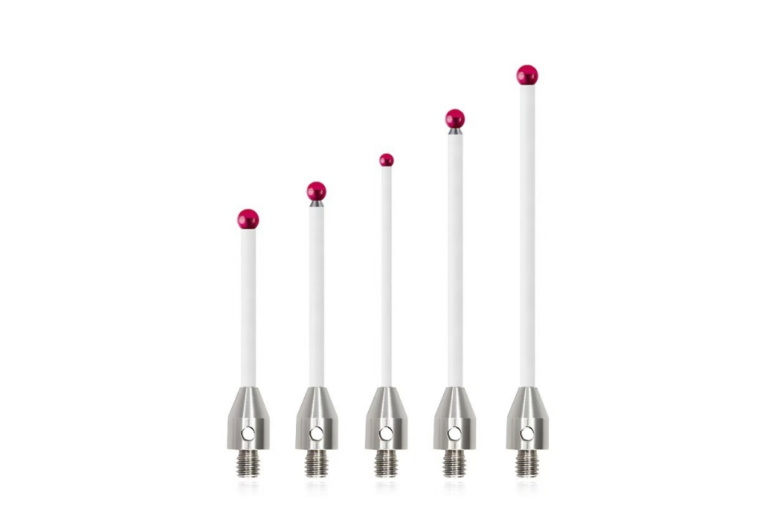
If you’ve ever blamed your CNC touch probe for “random” measurement errors, there’s a good chance the real culprit is much simpler: the stylus you chose (or inherited) isn’t matched to the job.
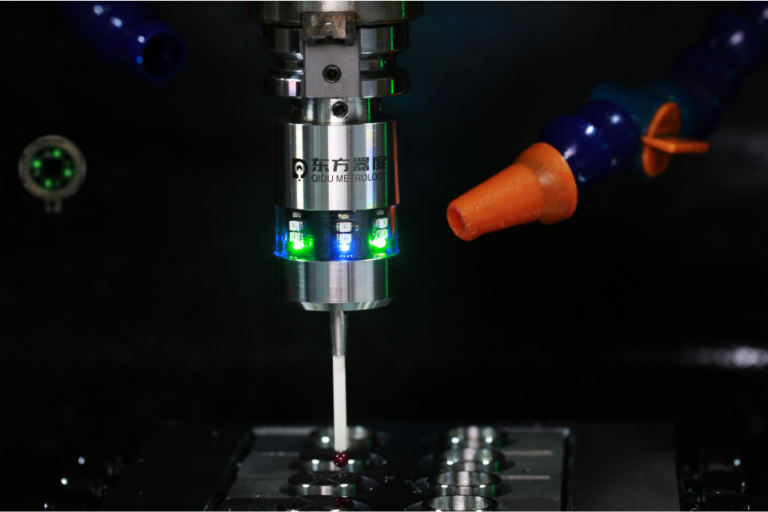
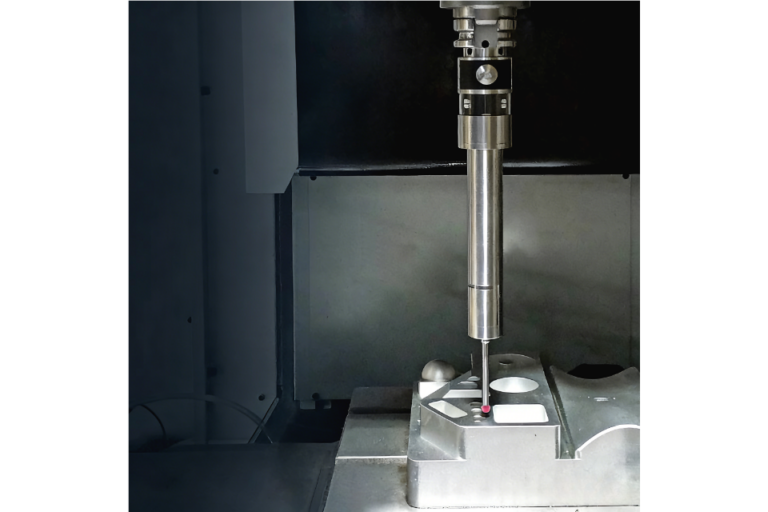
CNC touch probe is a measuring tool that attaches to the spindle of CNC machine. It allows for automatic measurement of parts during the machining process. Touch probe works by making contact with the surface of the workpiece, and sending a signal back to the CNC control system when it touches something, recording this data for future reference.

There’s a moment in every CNC job where the part is clamped, the tool is loaded, the program is ready… and you pause because you know the truth:
If your XYZ zero is wrong, everything after it is just expensive artwork.
In this blog, we’ll dig into the real-world roots of probe failed alarms, explain how to diagnose them, and walk you through fixes that actually address the cause instead of just masking the symptom.
Finding the true center of round stock is one of those foundational setup tasks in CNC machining that can quietly wreck a part’s accuracy if done poorly. You might have used edge finders, manual indicators, or traditional center finders — and those tools still have their place. But a modern CNC probe can do this in a way that’s faster, more consistent, and dramatically less dependent on operator feel.
In this blog, we’ll break down why probing routines for center finding matter, how they’re better than old methods, and exactly what’s happening when you use them to find the center of round stock.
Probing on a CNC isn’t just a “luxury automation feature.” It’s a way to turn your machine into a measuring device — one that can find features, set offsets, and verify dimensions automatically. On Fanuc controls, probing is particularly powerful because the control integrates probing cycles directly into its logic and supports advanced routines for work and tool setup.
If you’ve ever set up a part, hit “run,” and crossed your fingers hoping the finished part falls within tolerance, you know the hesitation that comes without real data. On-machine probing flips that script. Instead of relying only on fixed fixtures, manual measuring, or separate CMM machines, probing lets your CNC actively inspect and verify parts during setup and production — and Siemens makes this workflow both capable and practical.