Talk to Our Enginner,Get a Solution in 20 minutes

our engineers are the

Product inquiry

CNC Probe Basics: What a Touch Probe Does and Why It Matters

CNC Wireless Radio Probe

What is a touch probe, really?

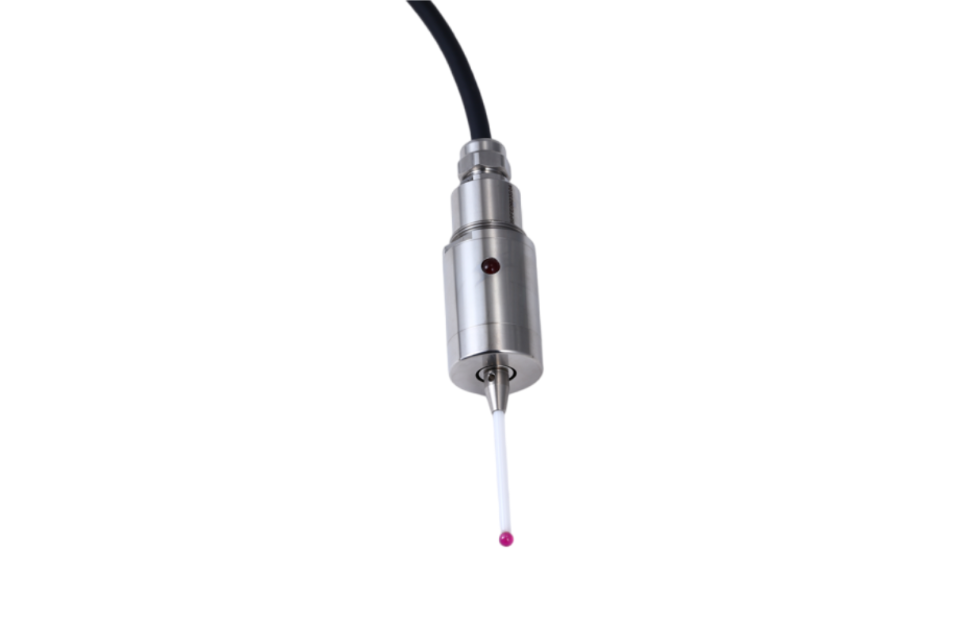
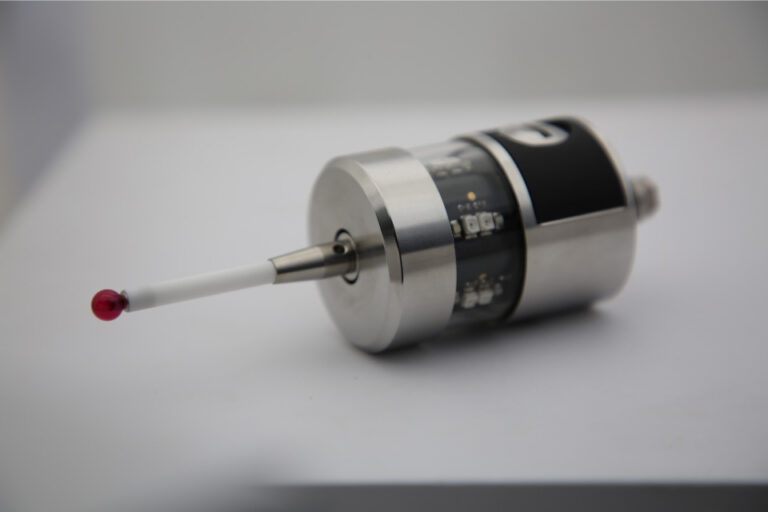
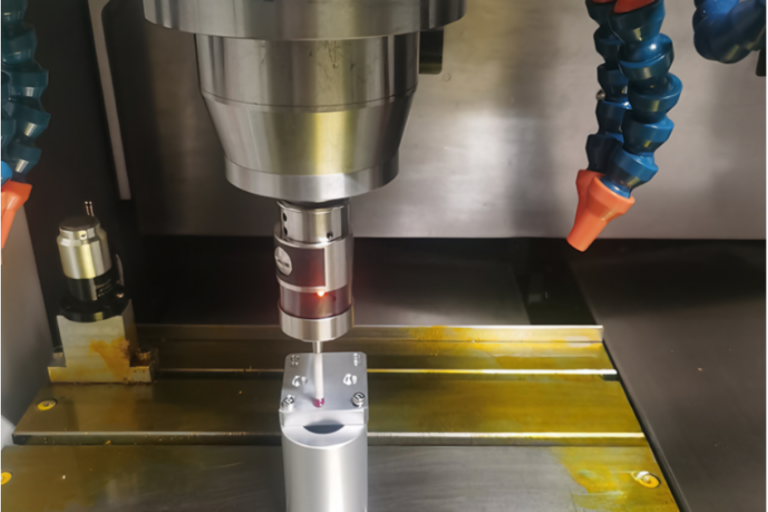
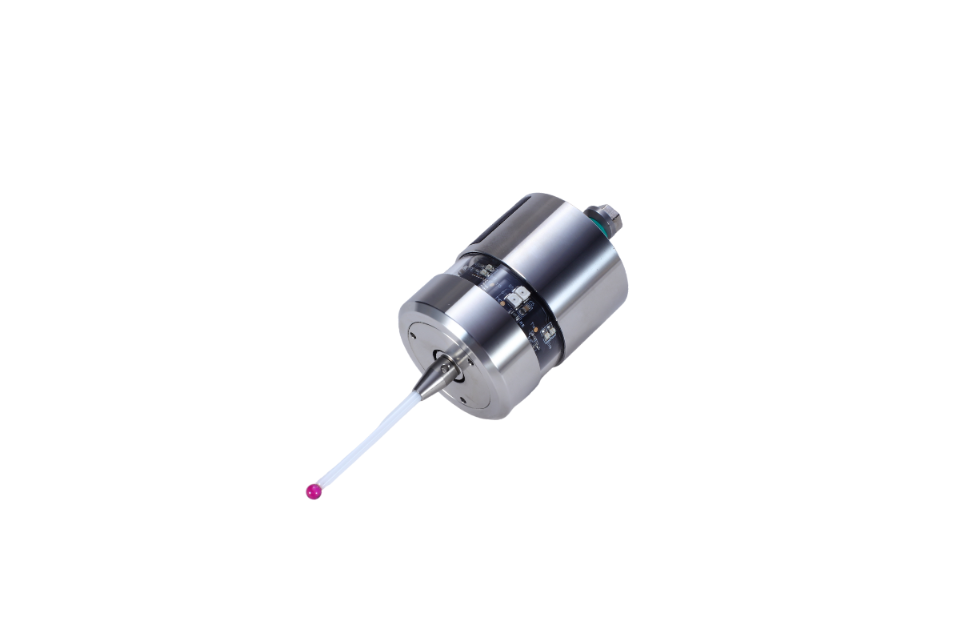
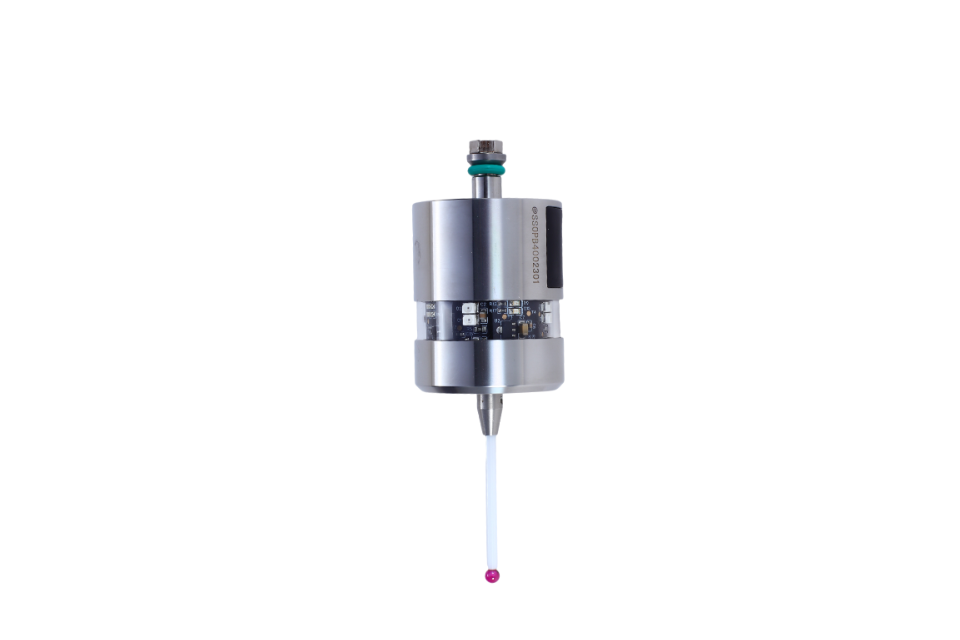
A CNC touch probe is a precision switch mounted in the spindle (or on the table) with a stylus—usually a ceramic stem and a ruby ball tip. When the ball touches a surface, the probe sends a clean, repeatable trigger to the control. The control records machine position at that instant and runs a macro (probing cycle) to:

  • Set work offsets (G54…G59)
  • Find rotation/centerlines of bores and bosses
  • Measure features for in-process inspection
  • Update tool wear or call alarms if parts drift out of spec

Think of a probe as the machine’s fingertips. The spindle doesn’t just cut—it feels.


Why shops that measure more, scrap less

1) Setup time collapses

Manual edge finding, dial tests, and shimming eat hours. A probe sets X/Y/Z zeros, squares stock, and finds centers in minutes, not half-shifts. On short-run and high-mix jobs, that’s pure gold.

2) First-article success climbs

Probing verifies that the part is where you think it is. If a soft jaw shifts 0.12 mm, the macro knows—and compensates or stops. You get good parts faster, not just faster bad parts.

3) Process control without clipboards

Mid-cycle checks (e.g., bore diameter or boss height) feed back to the control so you can auto-adjust tool wear. It’s SPC at the spindle: less drift, fewer surprises.

4) Lights-out with less risk

Whether it’s infrared (IR), radio, or wired, a probe lets the machine self-verify before moving on. That’s how unattended machining stops being a leap of faith.


How a probe gets its repeatability

  • Kinematic seat: Three pairs of precision contacts locate the stylus with micro-level consistency. Deflect, trigger, return—same seat, same zero.
  • Ruby ball: Ruby resists wear and gives smooth, predictable contact geometry on metals and composites.
  • Ceramic or carbon stem: Stiff, light, and non-conductive, so EDMs and coolant foams don’t play games with signals.
  • Sealing & mechanics: O-rings, wipers, and a balanced body keep coolant out and minimize centrifugal force at high RPM (toolchange safe).

Well-built probes deliver ≤1 µm 2σ repeatability in ideal conditions. Real shops see a few microns—and that’s still game-changing.


Signal paths: IR, radio, or wired?

MethodStrengthsWatch-outsBest for
Infrared (IR)Fast, battery-friendly, no EMI issuesRequires line-of-sight; closed doors/chips can blockVMCs with clear receiver placement
RadioLong range, penetrates doors/coolant, multi-machineSlightly higher power draw; manage pairing5-axis, horizontals, larger enclosures
WiredZero pairing, immune to RF noise, lowest latencyCable routing & strain relief; travel limitsEDMs, small VMCs, harsh EMI environments

Pro tip: On horizontals and 5-axis, radio saves headaches. On compact VMCs with a clean window to the receiver, IR is simple and robust. On EDMs, wired wins.


What probing cycles actually do (plain English)

  • Single surface (Z or X/Y touch): Establish a datum face.
  • Web/pocket: Touch both sides, split the difference to find the centerline and width.
  • Bore/boss: Touch 4–8 points around; compute center and diameter.
  • Angle/rotation: Touch two separated points on an edge or slot to compute workpiece rotation and update coordinate system.
  • Feature check: Compare measured value to nominal; update tool wear table or trigger alarm.

Most modern controls (Fanuc, Siemens, Heidenhain, Haas, etc.) ship with canned probing cycles. If not, macros are short and portable.


ROI: a quick back-of-the-envelope

  • Average operator cost: $30–$60/hr (fully burdened).
  • If a probe saves 20 minutes per setup and you run 3 setups/day, that’s 1 hour/day$30–$60/day.
  • 250 days/year: $7,500–$15,000 saved—before counting scrap reduction or tool wear compensation.

A good probe usually pays for itself in weeks, not years.


Where probes shine (real shop scenarios)

  • 3C & electronics: Thin wall parts and fixtures demand precise zeroing; auto wear comp keeps tiny cutters honest.
  • Auto parts: Bore/boss centers and bolt-pattern checks prevent stack-up errors across cavities.
  • Aerospace: Multi-op, multi-axis parts benefit from on-machine verification and rotation alignment.
  • Mold & die: Pick up electrodes and cavities, chase thermal drift during long finish passes.
  • Job shops: High-mix chaos turns civilized when every job starts with the same probe routine.

Choosing a probe: a quick field checklist

  1. Environment fit: Coolant type, pressure, chip load. Look for IP-rated sealing and a clear LED status window for operators.
  2. Trigger performance: Repeatability spec, pre-travel variation, and stylus options.
  3. Link reliability: IR line-of-sight vs radio range; signal indicators on the receiver help diagnostics.
  4. Controller compatibility: Does it support your canned cycles? Is the macro library complete and editable?
  5. Serviceability: Replaceable styli, common threads (M4/M5), local support, spares on the shelf.
  6. Battery/cable strategy: For wireless, check battery type and life. For wired, ensure proper strain relief and drag-chain routing.

Getting started without drama

  1. Standardize your routine. Write a master probing program that:
    • Proves machine home,
    • Measures stock,
    • Sets rotation,
    • Logs results to macros/variables.
  2. Pilot on one family of parts. Track setup minutes, first-article rework, and scrap for before/after proof.
  3. Train for “feel.” Teach operators what good triggers look/sound like, how to clean the ruby, and how to verify a stylus with a ring gauge or 1-2-3 block.
  4. Log and learn. Capture measured deviations and map them to tool wear or fixturing drift. That’s your continuous-improvement engine.

Common pitfalls (and simple fixes)

  • False triggers from chips: Add a quick air blast and a “double-touch” confirm in the macro.
  • Mis-seated stylus after a crash: Always re-qualify the stylus after any hit that feels wrong.
  • Receiver blind spots (IR): Move the receiver or add a repeater; avoid directly behind tool racks.
  • Radio pairing confusion: Label probe/receiver pairs and keep a short “pair & test” checklist at the control.
  • Cable fatigue (wired): Use high-flex cable, generous bend radius, and proper strain relief; inspect at PM intervals.

Maintenance that actually matters

  • Daily: Wipe the ruby ball; check for chips in the seat and confirm LED status.
  • Weekly: Run a quick repeatability test—touch the same point 10 times and look for spread.
  • Monthly: Inspect stylus threads, O-rings, cable glands; re-qualify the stylus length and radius.
  • After any crash: Replace the stylus if in doubt—it’s cheaper than chasing phantom microns.

FAQ (the questions your team will ask)

Will probing slow my cycle?
Usually the opposite. The few seconds of probing save minutes of manual setup and prevent scrapped parts later.

How accurate is it, really?
Expect a few microns of repeatability on a healthy machine. Your fixturing and thermal control matter just as much.

Can I probe finished surfaces?
Yes—use clean coolant/air and a small contact force. Ruby is gentle; macros can double-touch to confirm.

Do I need special software?
Most controls include probing cycles. If not, macros are easy to implement and reuse.


The takeaway

A touch probe turns your CNC into a measuring, learning machine. It shortens setup, raises first-part yield, keeps processes centered, and makes lights-out realistic. Whether you choose IR, radio, or wired, the payoff is the same: more good parts with less drama.

If you’d like, I can tailor a starter macro set (work offset, bore/boss, rotation, feature check) for your controller and part mix—ready to paste and run.

Comments

Blank Form (#5)
Share your love