Talk to us,Get a Solution in 20 minutes
Please let us know any requirements and specific demands,then we work out the solution soonest and send back it for free.
Please let us know any requirements and specific demands,then we work out the solution soonest and send back it for free.
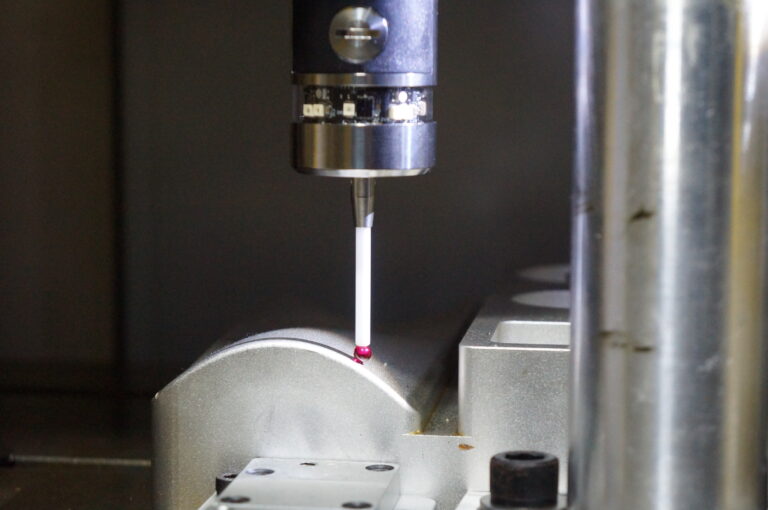
If you’ve spent any time on a CNC mill, you know this moment: you’re about to start a job, your vise is bolted down… but is it actually square to the machine axes? You could spend time with indicators, feelers, stones, and edge finders — and some seasoned machinists can get very good with those tools — but there’s a smarter way that combines confidence, repeatability, and automation: using a CNC probe to square your vise.
In this post, we’ll explore not just how to square a vise with a CNC probe, but why it’s worth doing and how it elevates your workflow beyond manual techniques. We’ll also compare it to traditional methods and explain the deeper thinking that makes probing a real shop-floor advantage.
Getting your vise square to the machine axes isn’t a suggestion — it’s foundational precision work.
A vise that’s slightly off:
Traditional teaching involves using a machinist’s square, edge finders, or dial indicators to “feel and adjust” until everything looks right. That can work — but it’s heavily dependent on the operator and manual interpretation.
Explore CNC laser tool setters cnc-probe.
A machine table edge — or even the vise itself — can look square by eye and feel, yet still be a few thousandths misaligned in the real coordinate system. Those tiny errors can propagate into your finished parts. Squaring isn’t about being pretty — it’s about being mathematically precise relative to the machine’s axes.
Traditional Methods: What They Do and Their Limits
Before probes, machinists squaring a vise typically used:
You slide a square along the table and adjust until it “looks” right. This can get you close, but interpretations vary, and contact points aren’t recorded by the controller.
You indicate each jaw face until the readings match — but that still requires careful human judgment and can be tedious on multiple vise setups.
Useful for finding the edges of vise jaws, but edge generators still rely on operator response (visual or feel) and require manual offset math after the fact.
All these methods can work — but they share the same limitation: human interpretation and manual data entry.
Learn more about CNC modular touch probes cnc-probe.
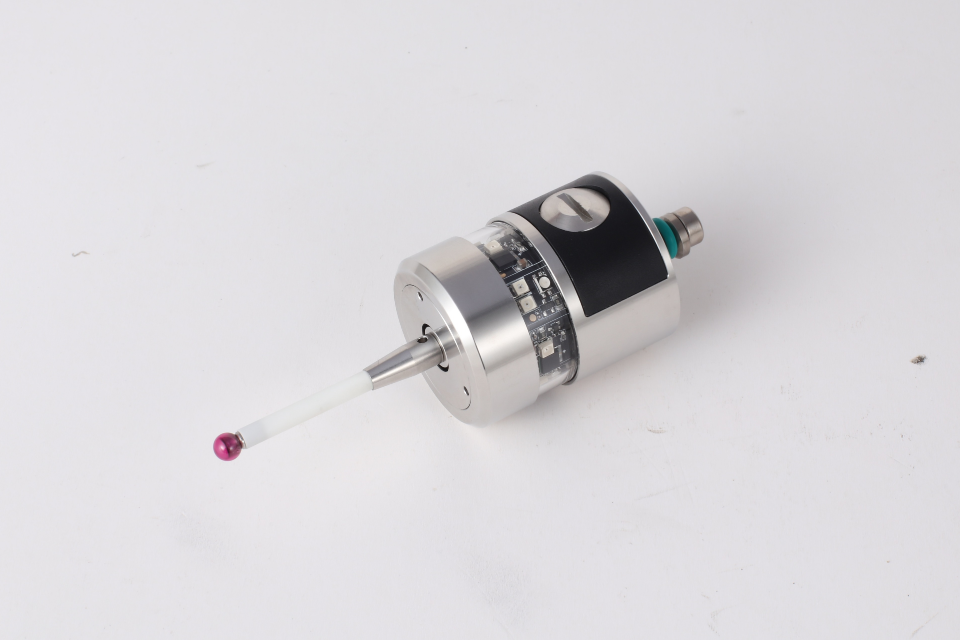
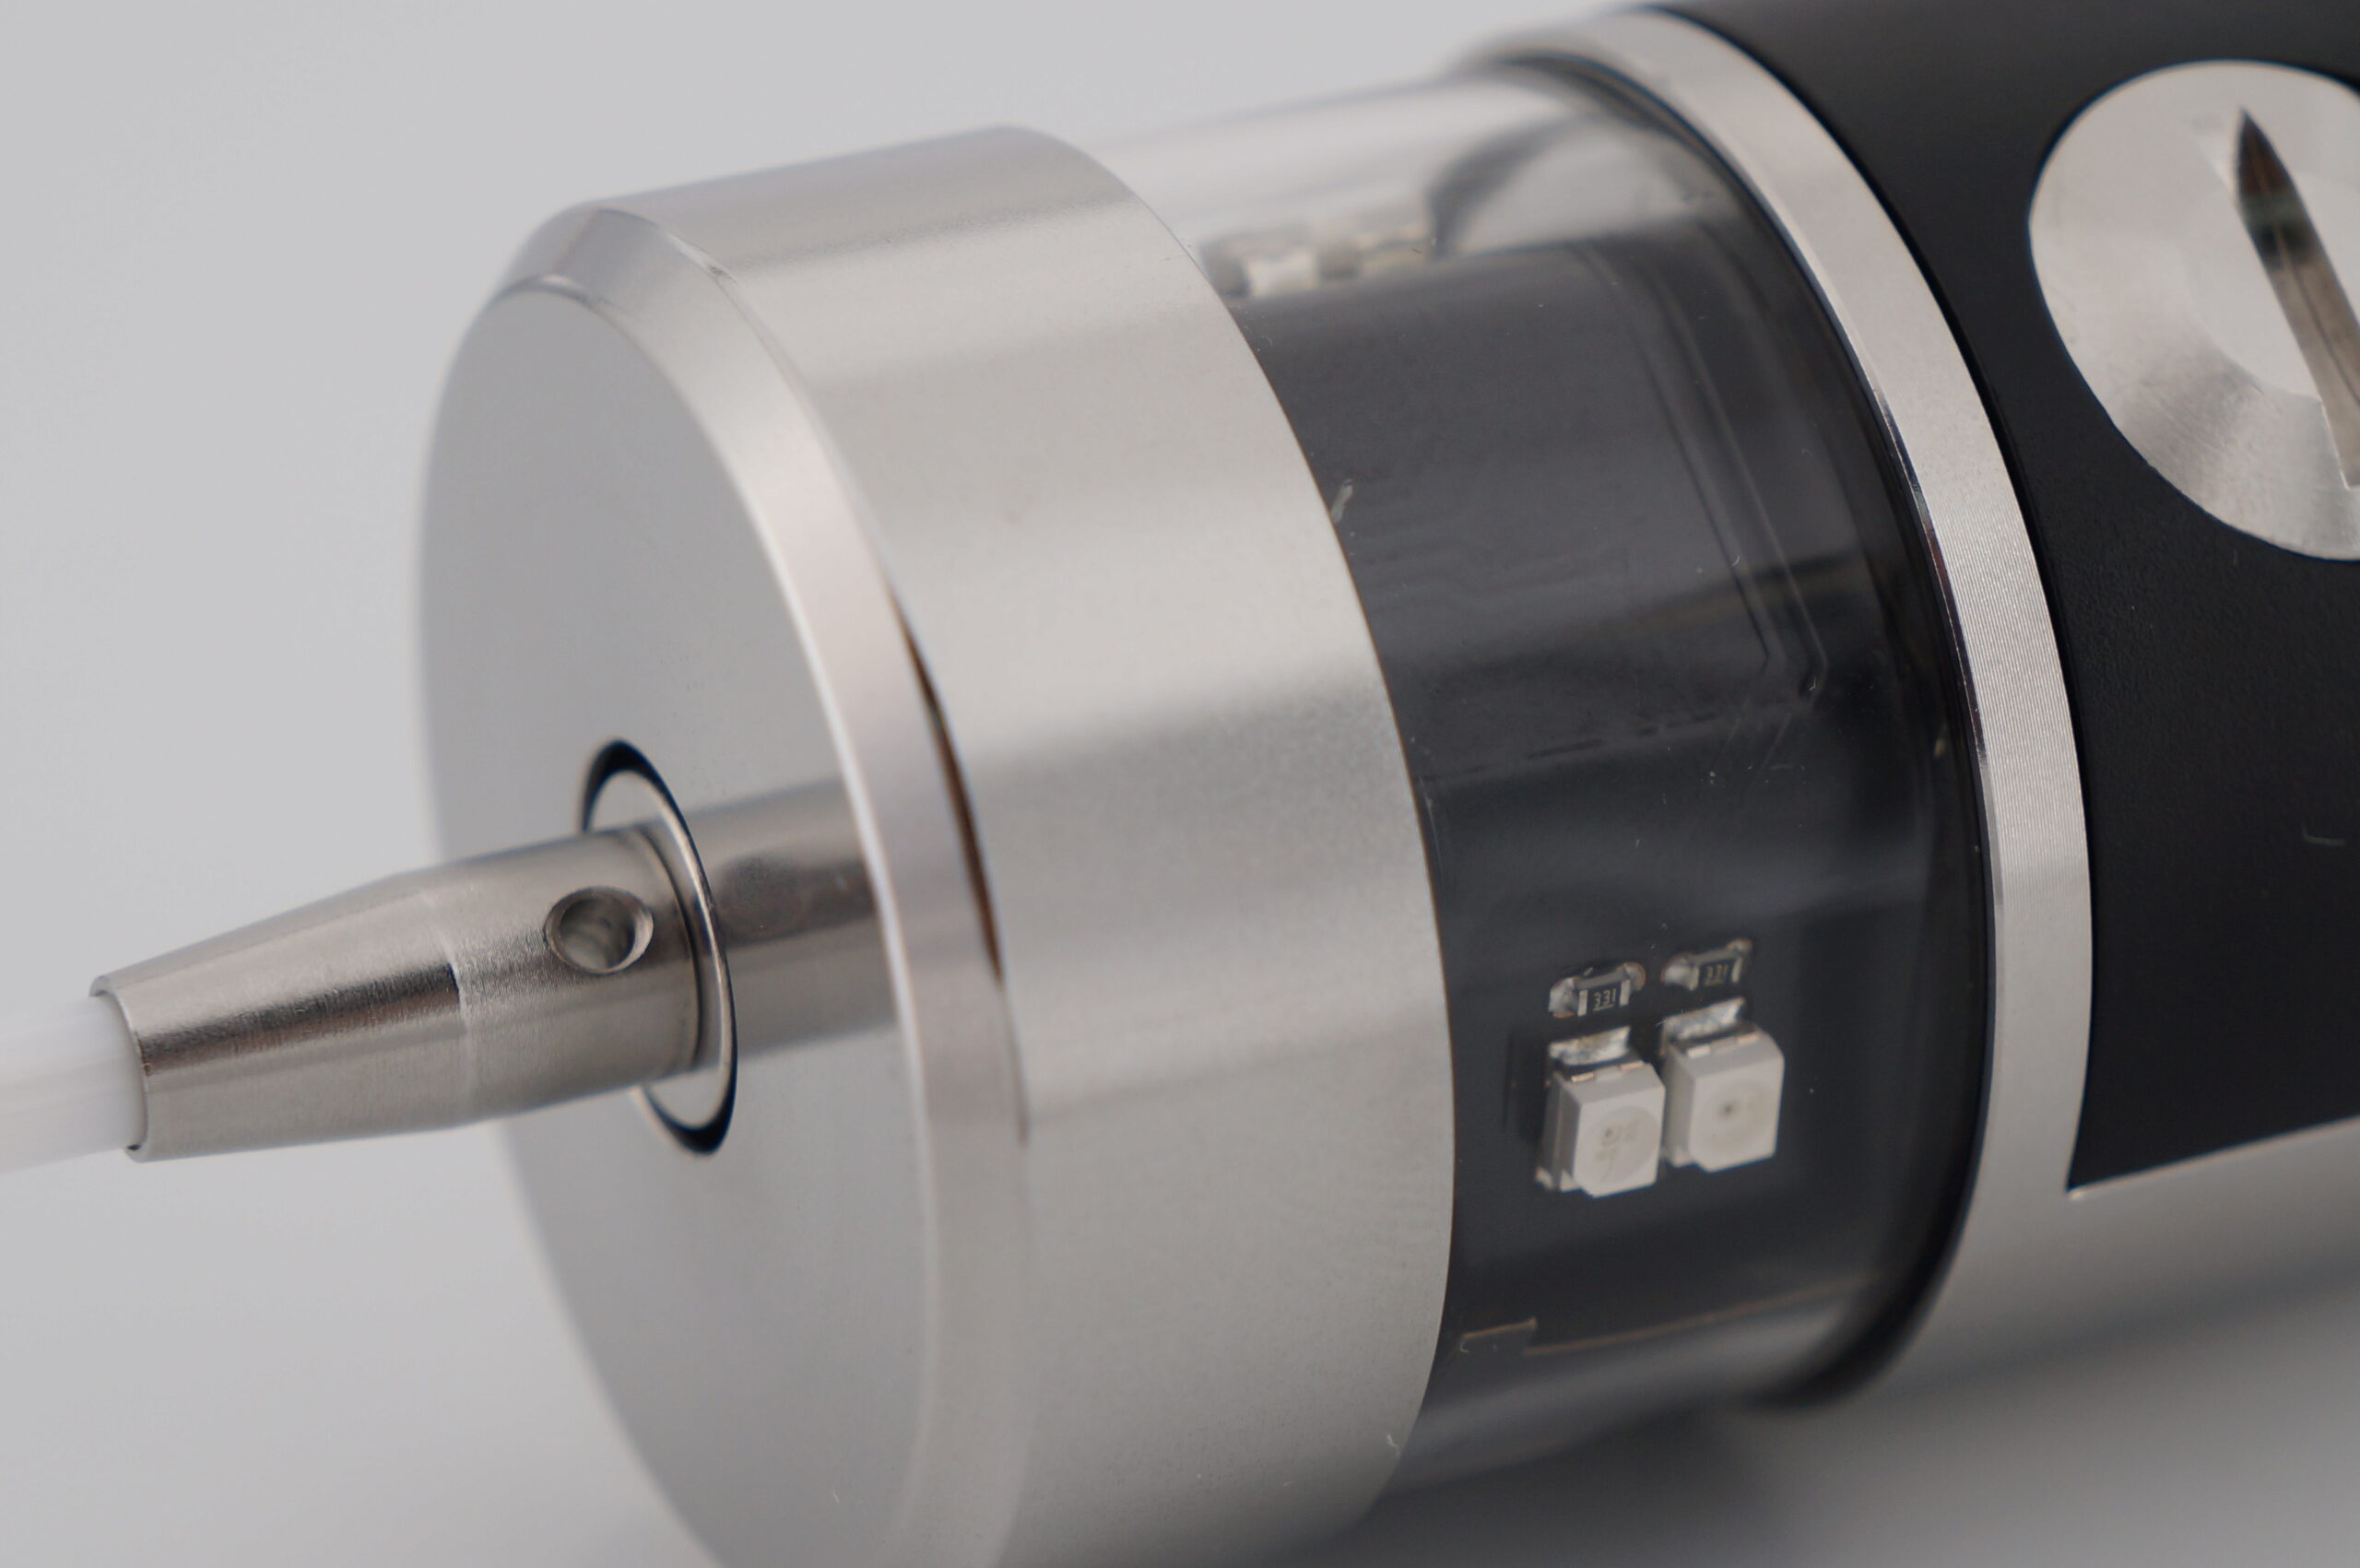
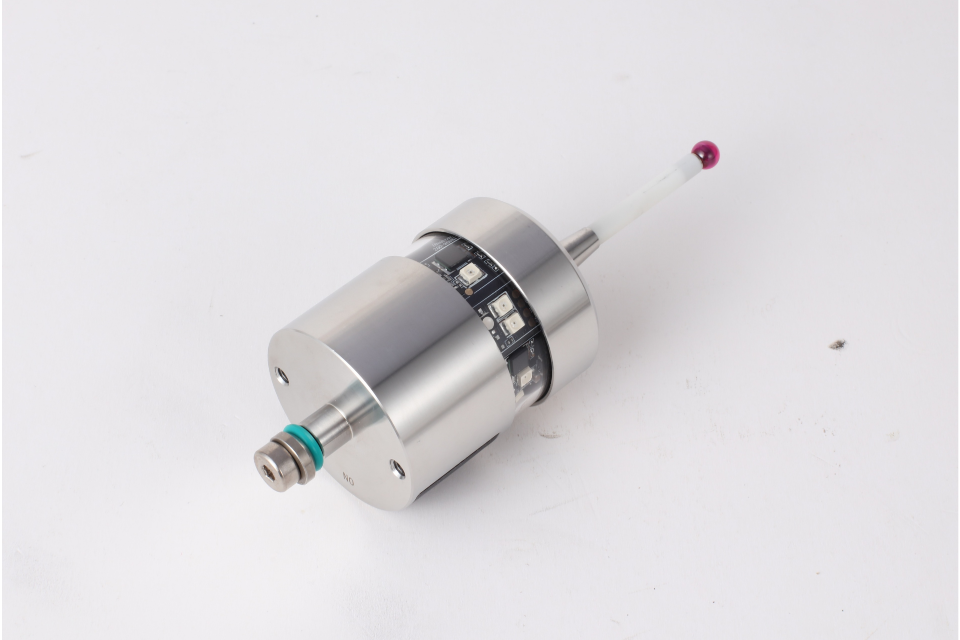
A CNC probe doesn’t just touch surfaces — it measures them with respect to the machine’s coordinate system and feeds that data straight into the controller.
That means:
Probes are essentially measuring tools, not just tactile indicators — the machine itself becomes your survey instrument.
Check out CNC transmission wired touch probes cnc-probe.
Here’s a practical, humanized probing routine you can adopt:
Before probing, ensure:
Why? Because probing assumes the stock is accessible and reachable. If chips, debris, or misalignment block paths, probing moves can give false data or even crash.
This preparatory step is something traditional methods also stress — cleanliness and solid mounting are universal truths.
Here’s where the magic begins:
The controller can now compute the jaw width relative to the machine axis and calculate a correction value.
This gets you alignment mathematically, not by feel.
This pair of touching events eliminates the guesswork around where the edges really are.
Visit CNC Probe homepage cnc-probe.
Repeat the same idea in Y:
Now the machine has two axes’ worth of real measurements.
Instead of interpreting dial swings or edge kicks, you’re letting the machine create a real coordinate mapping of those surfaces.
Learn about high-precision measurement CNC probes cnc-probe.
Once the data is collected, the controller uses it to:
That last piece — knowing how far things were off — is one of the biggest hidden values in probing. It gives you confidence in what you’re doing, and a record you can reuse later.
Explore CNC Z-axis wired tool setters cnc-probe.
When someone uses an edge finder or indicator, the machine doesn’t actually store anything — the machinist mentally translates a mechanical event into coordinate offsets. That translation is where error lives.
With a probe:
This removes operator bias and makes alignment a measured fact, not a human approximation.
Check out CNC probe products cnc-probe.
Even though probing routines are powerful, they won’t save a poorly prepped setup:
Probing isn’t magic — it’s precise measurement — which means your inputs (fixturing, cleanliness, calibration) have to be precise too.
| Factor | Edge Finder | CNC Probe |
|---|---|---|
| Ease of Use | Easy, tactile | Requires programming and setup |
| Data Accuracy | Operator dependent | Controller measured |
| Repeatability | Human variable | Machine consistent |
| Documentation | Largely manual | Stored automatically |
| Learning Curve | Low | Moderate |
| Best Use Case | Quick rough alignment | Precision setups and repeat work |
A probe isn’t here to replace edge finders entirely — these tools still have value in quick manual setups — but when you commit to precision and repeatability, probing wins hand-down.
Imagine your team runs two shifts. With indicators and edge finders, every operator’s interpretation may vary. Part offsets may shift slightly from night to day, especially if fixturing is reused.
With probing:
That means consistency, confidence, and less retracing your steps.
Edge finders and indicators are tools — excellent ones in the right hands — but they rely on human interpretation. Probing routines, however, rely on machine measurement. That turns squaring a vise from an art into a predictable science.
If your shop aims for repeatability, auditability, and long-term quality, squaring with a probe isn’t just a convenience — it’s a foundational workflow upgrade.