Talk to us,Get a Solution in 20 minutes
Please let us know any requirements and specific demands,then we work out the solution soonest and send back it for free.
Please let us know any requirements and specific demands,then we work out the solution soonest and send back it for free.
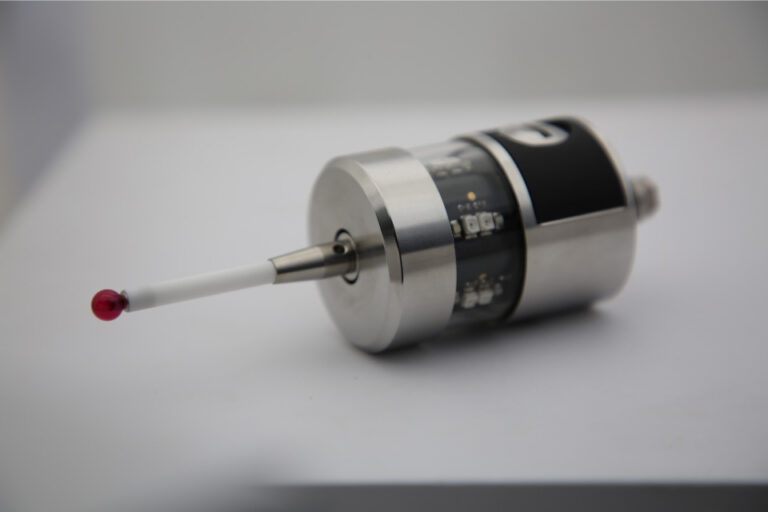
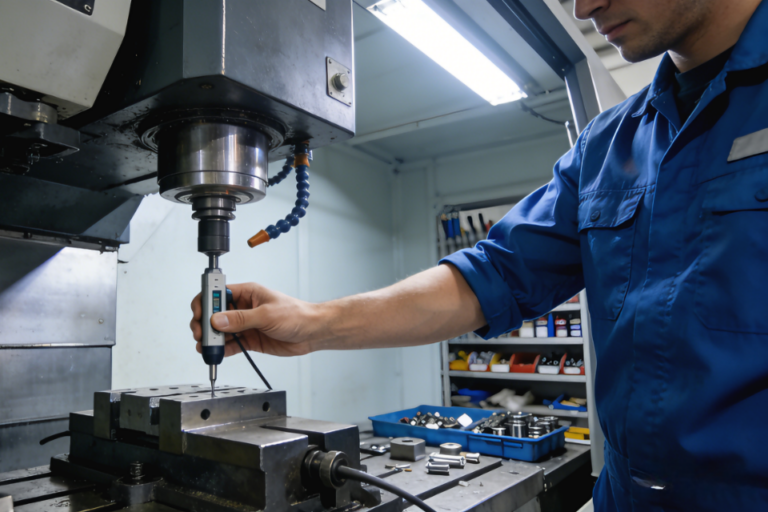
If you’ve ever watched a CNC machine “tap” a part a few times before machining—or pause mid-cycle to check a bore—you’ve seen probing in action. A touch probe (often called a workpiece probe) is a high-precision sensor mounted in the spindle (or turret) that touches the workpiece with a stylus ball to capture real 3D coordinates inside the machine, then feeds that data back to the CNC so it can set work offsets, align the part, compensate drift, or verify dimensions in-cycle.

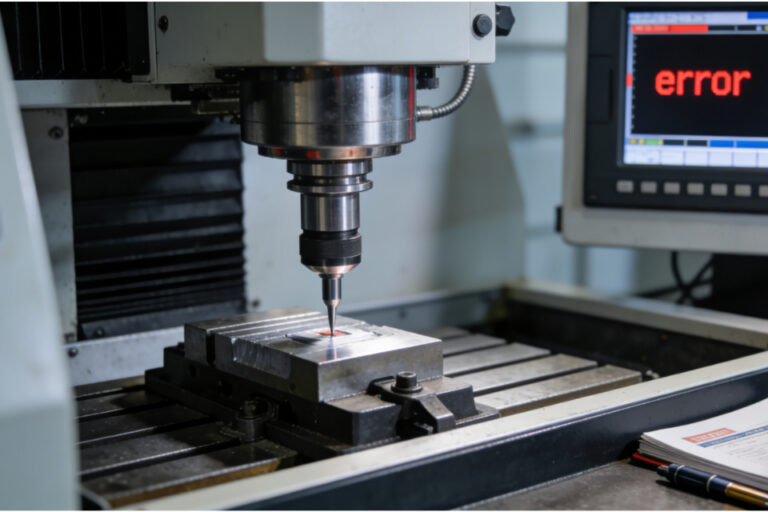
Touch probes can ensure accurate measurements, safe setups, and consistent quality. But when a touch probe stops short of the intended contact point, or triggers prematurely, it will makes us feel confuse: the machine thinks something happened…but we can’t see it. So Understand whether the root cause is electrical or mechanical is important—not just to fix the issue, but to prevent it from reoccurring. Here’s an expert breakdown that connects human intuition with machine behavior.
If you’ve ever measured a bore, a sphere, or a nice smooth radius and thought:
“Why does this ‘perfect’ curve look slightly… three-lobed?”
You’re not imagining things. That pattern often comes from lobing error—a direction-dependent trigger behavior common in kinematic (mechanical-switch) touch-trigger probes. In plain terms: the probe doesn’t trigger at the exact same deflection in every direction, so the measured surface can come out with a subtle “triangular / three-lobe” signature.
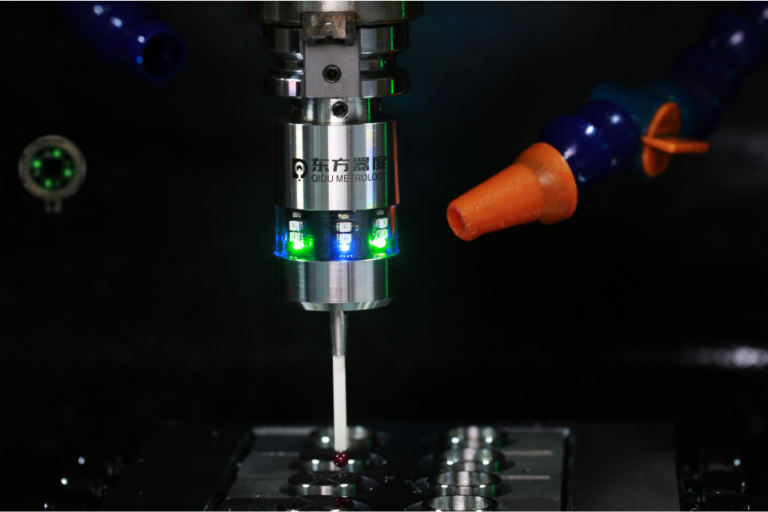
CNC touch probe is a measuring tool that attaches to the spindle of CNC machine. It allows for automatic measurement of parts during the machining process. Touch probe works by making contact with the surface of the workpiece, and sending a signal back to the CNC control system when it touches something, recording this data for future reference.
There’s a moment in every CNC job where the part is clamped, the tool is loaded, the program is ready… and you pause because you know the truth:
If your XYZ zero is wrong, everything after it is just expensive artwork.
In this blog, we’ll dig into the real-world roots of probe failed alarms, explain how to diagnose them, and walk you through fixes that actually address the cause instead of just masking the symptom.
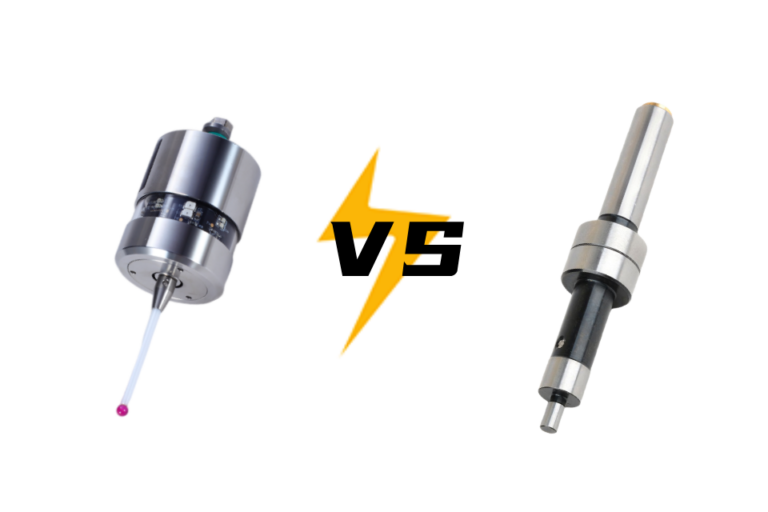
If you’ve ever stood in front of a mill with a vise full of parts and a clock that’s already running late, you know this feeling: you just want to find your zero quickly, accurately, and repeatably—without second-guessing yourself.
This blog breaks down what each tool is actually good at, where each one bites you, and how to decide—job by job—what to use and when.
If you’ve ever milled what should be a flat surface and noticed tiny ridges, subtle slopes, or inconsistent depths — even though your CAM looked perfect — you’ve just met tramming error. This is where the spindle isn’t truly perpendicular to the table or fixture, and every cut carries that error into the finished part. Fixing this isn’t just “nice to have” — it’s foundational to reliable machining.

A CNC probe isn’t just a fancy sensor you occasionally use to set up workpieces. When properly calibrated, it becomes one of the most powerful tools in your shop — saving time, reducing scrap, improving first-article success, and making setup and inspection predictable instead of guesswork.
A CNC touch probe turns guesswork into measurements—so you find datums, rotation, centers, and drift in minutes, not by trial, re-cut, and hope.
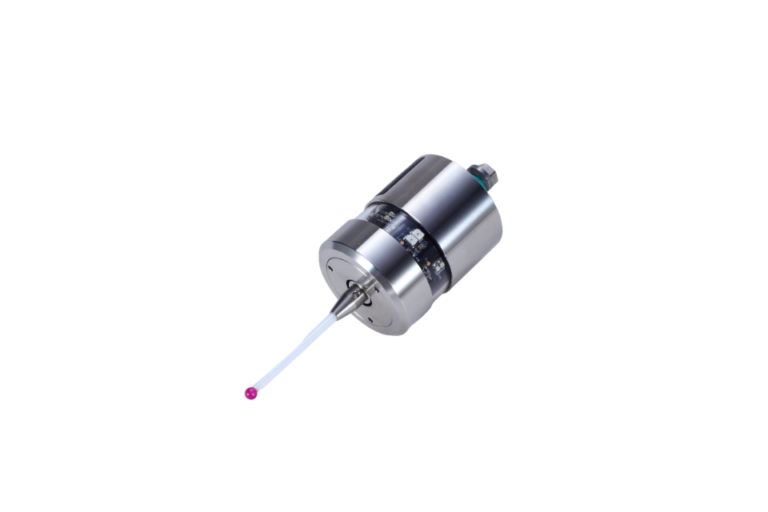
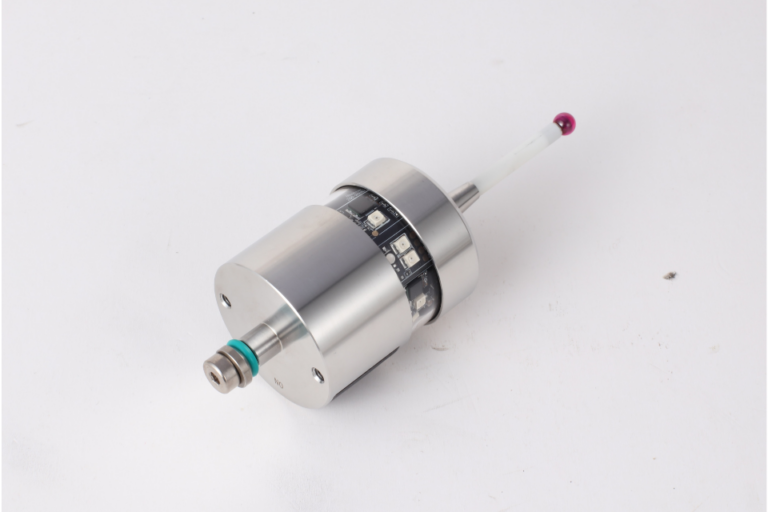
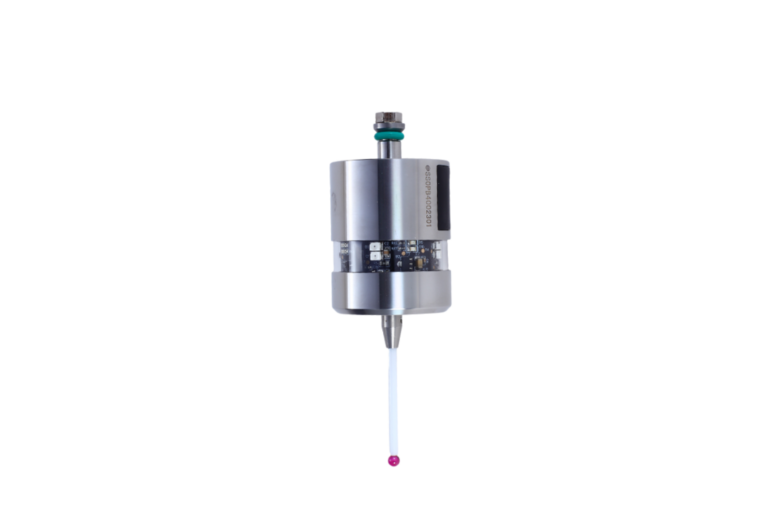
A CNC probe is a precision switch with a stylus (usually a ruby-tipped ball) that the machine uses to locate, measure, and verify parts and fixtures. It tells the control exactly where things are so your programs start from the right place—and stay there.